One of the hardest things to photograph in nature is a bird in flight. It’s a technique that takes both study and practice. If you’d like to improve your bird in flight (BIF) photos, then this post is for you. It will help you learn to take your first BIF photos, and then how to improve your technique to get the best photographs of flying birds.
Step 1: Find Some Birds!
The first thing to do is to find some birds to take photos of! Some places might be easier than others, so I would suggest places where:
- the birds are larger – small songbirds are fast and hard to focus on
- the birds aren’t hidden by foliage or other elements that make them hard to find
- the light is good
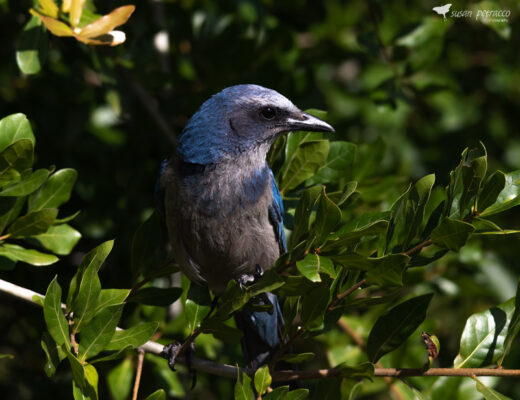
Some ideas that fit these criteria are shore birds at the beach or at a lake or pond, or even birds in a parking lot. Pigeons are a great bird to learn on! I know they’re probably not your favorite bird, but if the goal is to practice – and it is – then easy-to-find and easy-to-see birds are the best. Fortunately it’s easy and cheap to practice with a digital camera; thankfully most of us are not shooting on actual film these days!
If you need more help, check out my post on Where to Find Birds.
Step 2: Choose a Time of Day
The best time of day to shoot birds in flight is the first hour or two after sunrise, or the last hour or two before sunset.
You want the light to be bright enough that you can set your shutter speed fairly high, since you’ll be moving your camera and the birds will also be in motion. But you don’t want the sun so high that you’re just getting a dark silhouette against a bright sky.
Position yourself so that the sun is behind you, or at least to the side. Don’t shoot directly into the sun. (Although there are times to break every photography rule, learning to shoot birds in flight isn’t one of those times.)
Step 3: Prepare Your Camera For BIF Shots
There are several camera settings that are generally best for in-flight bird photography. If you’re still shooting in automatic mode, then please take some time and learn to shoot in aperture priority mode, shutter priority mode, and even manual mode.
For BIF photos, you want a fast shutter speed to compensate for your movement and the movement of the subjects. So you’ll need to shoot in shutter priority mode, or even better, manual mode. If the light allows, shutter speeds of 1/1000 and higher should produce the best results. For super fast birds, like least terns, you’ll probably want something closer to 1/3200. (As a quick note, the larger the number on the bottom, the faster the shutter speed. 1/500 means the shutter is open for 1/500th of a second. The shorter it’s open, the less light is let in, but it better compensates for movement.)
If your camera supports burst mode, set it to that as well, so we can use something called the “spray and pray” method. This basically means you’ll be shooting a sequence of images very quickly, one after another, and praying that you get one or two good photos out of the batch!
Finally, set your camera to back-button focus and learn how to use that. This will allow you to control your focus with a different button than what you’re using to release the shutter. It will give you much better results.
Step 4: Get out and Practice
Now head to your chosen location because it’s time to practice. Pack some water and maybe a snack, and a lot of patience.
Why patience? You’ll have to wait for the birds to take off! This will get easier as you learn the behavior of the birds you’re photographing. If you’re shooting in a park or at a populated beach, just wait for someone to walk by and the birds will scatter. If you’re in a more natural area, the birds will fly if a predator comes by or if they are startled by something. Nesting birds will fly off to find their mate a meal, or to gather nesting materials.
Focus your camera on the birds at their current location, and leave it on. Don’t zoom in too far, because the further in you zoom, the harder it is to track the birds when they move. Then, wait for them to fly.
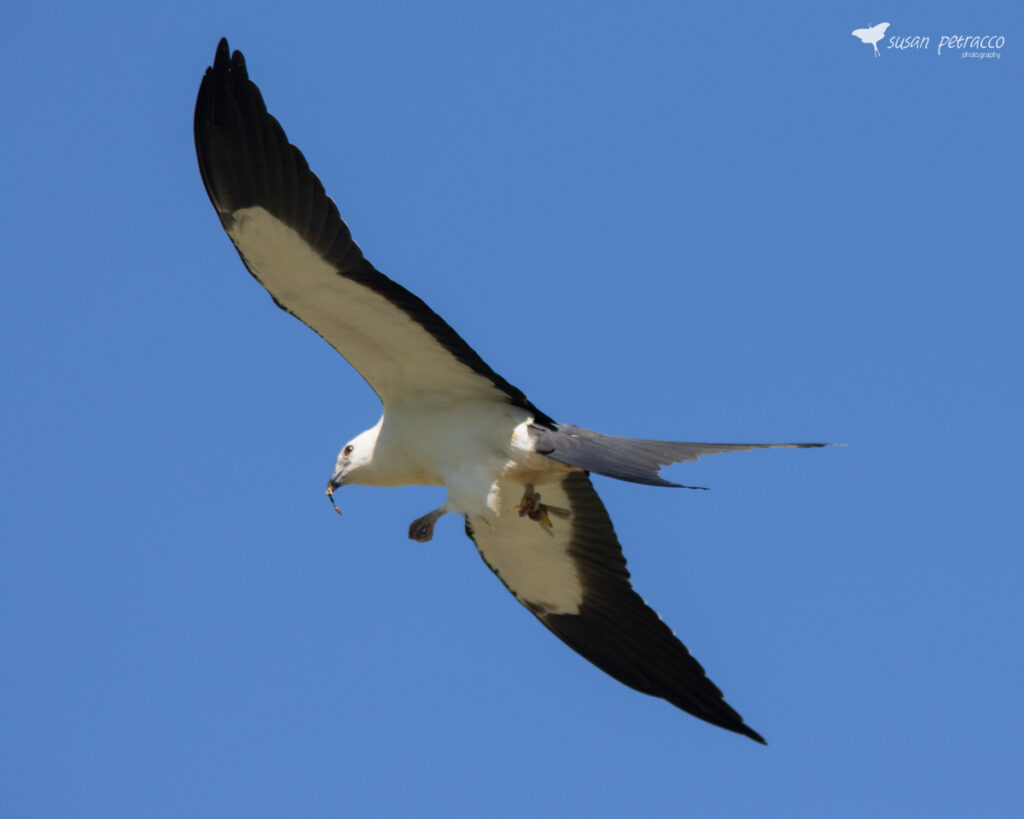
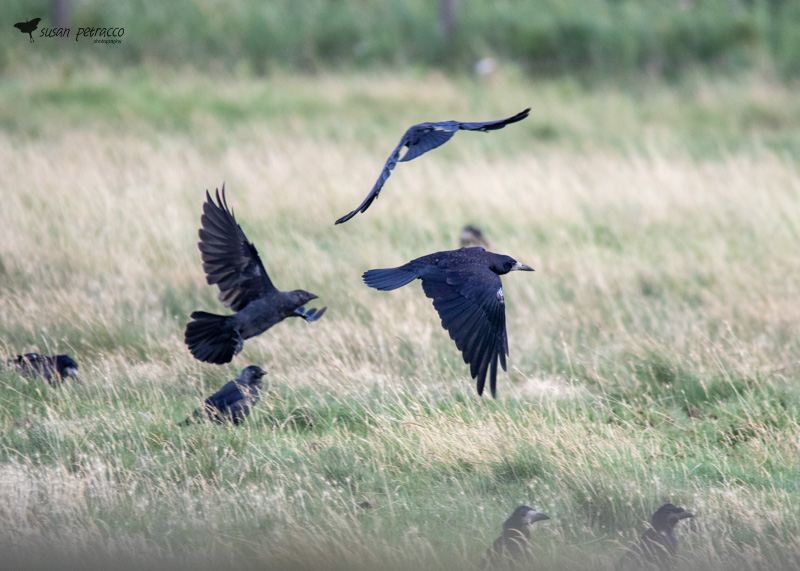
When the bird flies, aim your camera towards them and use your back button to focus. Track your camera along the same path that the birds take. This is easier with large birds, who tend to fly more slowly and in direct paths, when compared to small songbirds. Press the shutter button, and if you have your camera in burst mode, continue holding it down.
This definitely gets easier with practice. You can practice tracking birds’ movement in flight even without taking photos; I did a lot of that when I was learning to take BIF photos. Tracking is probably the hardest part!
Some Helpful Notes for to Help You Photograph Birds in Flight
Here are some helpful notes for helping you photograph birds in flight.
Watch your step! Don’t try to balance precariously only something. Find a solid stance and don’t move too much if you’re close to a curb, a shoreline, or anything else that can trip you up.
Zoom: Less is More – The more you’re zoomed in on your subject, the quicker you’ll lose them when they move. At rest, it looks great if the fill the entire frame in the camera. But you’ll find yourself taking lots of pictures of the empty sky or just half of a bird if you’re zoomed in too far. Try to balance the focal length so the bird doesn’t take up too much of the photograph, but so it isn’t just a tiny dot either.
Don’t hold down the back button to focus – When you follow the birds, don’t hold down the back button to maintain focus. Wait until you have the bird in your viewfinder and then press it. You can continue pressing it intermittently while you shoot.
Consider NOT using the back button focus – Although I like to use it even for flight photos, other people recommend not using it. If you want, try it both ways and see what you like best.
Turn off image stabilization – this isn’t going to be helpful for BIF photography, so turn it off to improve the performance of your lens.
Set a single focus point – set your camera to use a single focus point instead of multiple ones. Set the focal point to the middle of the viewfinder, and try to keep it centered over your subject.
Try a monopod – a monopod is like a tripod, but with only one leg. It will help you hold your camera in a ready position
Use a tripod with a gimbal head – if you really get serious about your birds in flight photography, consider purchasing a tripod with a gimbal head. You can sometimes use one with a ball head but your movement will be limited. Here’s a great post about using a long lens on a tripod.
Go easy on yourself – shooting photos of birds in flight isn’t an easy task. Don’t be too hard on yourself for clipped wings, blur, or under- and over-exposed images. Your results will get better with time and practice. An experienced bird photographer will even struggle with BIF photos sometimes!
I hope you’ve found this post about taking photographs of birds in flight both helpful and an enjoyable read. Please leave any questions or comments about wildlife photography below and I’ll try to reply back as quickly as I can. If you really liked the post, consider bookmarking it or sharing it on social media. Thank you!